Case Study
Our Wedding Website
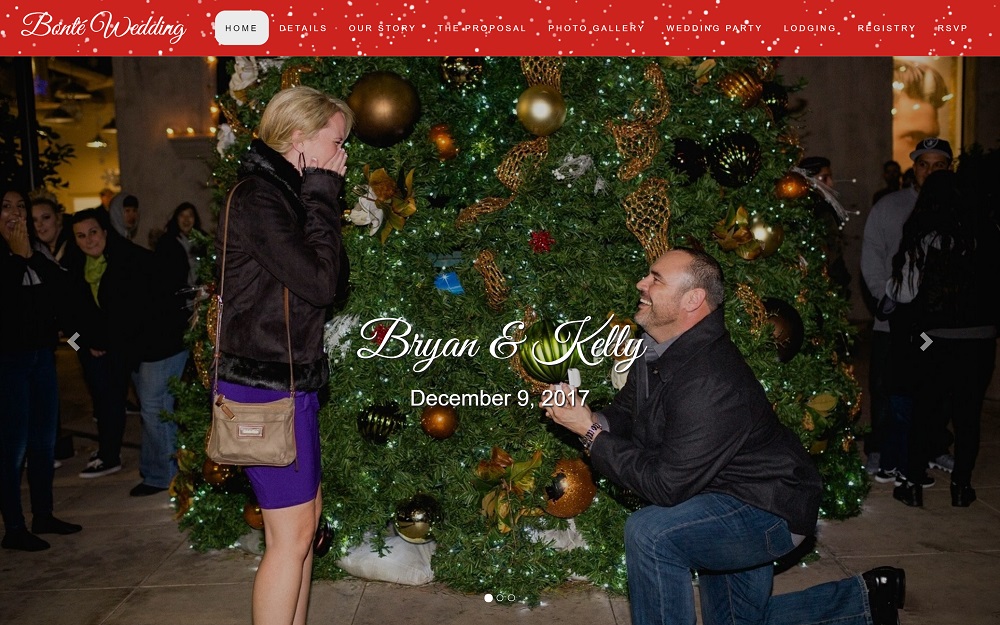
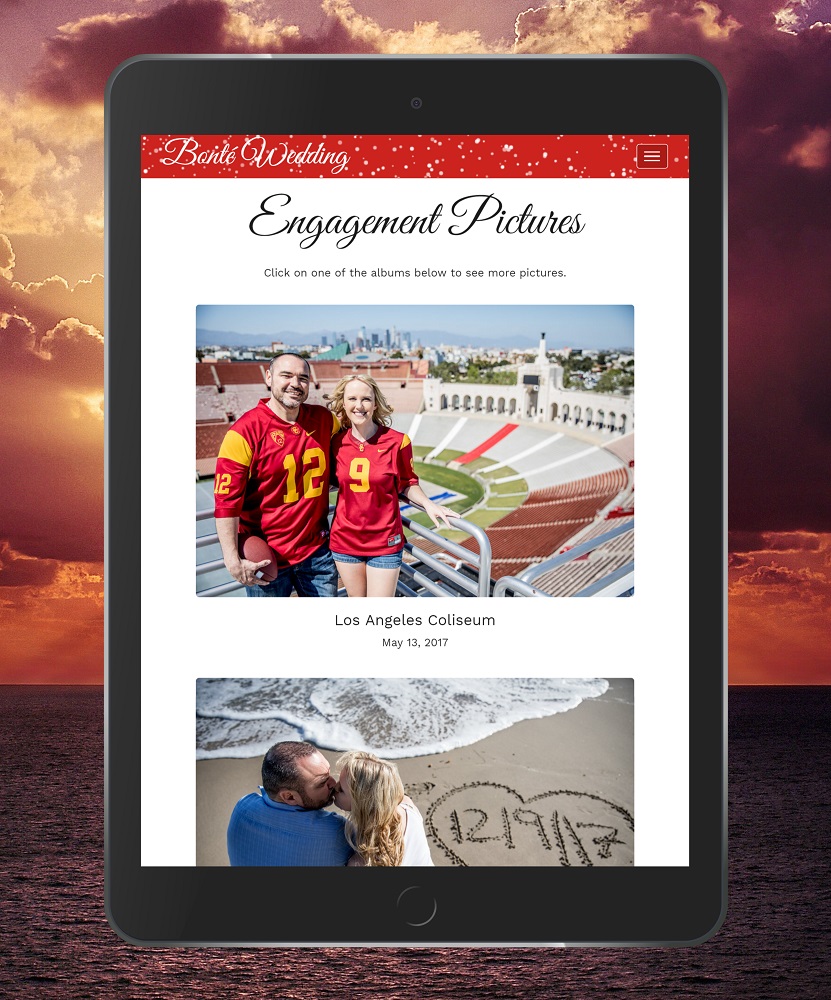
The overview of this project was to create a wedding website for myself and my husband after we got engaged to provide information about our upcoming wedding with our guests along with share stories, pictures, and videos of our relationship. We also wanted to be able to keep this as cherished memories afterwards.
Purpose & Context
In the beginning of my web development certificate program, CareerFoundry was sharpening my front-end development skills and using this to create our wedding website was the perfect way to further these skills even more and learn new techniques along the way.
Objective
We wanted to be able to create a completely customized website that was unique to us and was not restricted by templates available to other couples. There are many different create-your-own wedding websites available, but they can have certain limitations. For example, specific desired page layouts of functionality may not be available. Creating our own website would allow us have to anything we wanted to include and would also allow me to strengthen my coding skills along the way ending with a product that I am not only proud to show off in my portfolio, but that I can keep for the rest of my life with treasured memories.
Approach
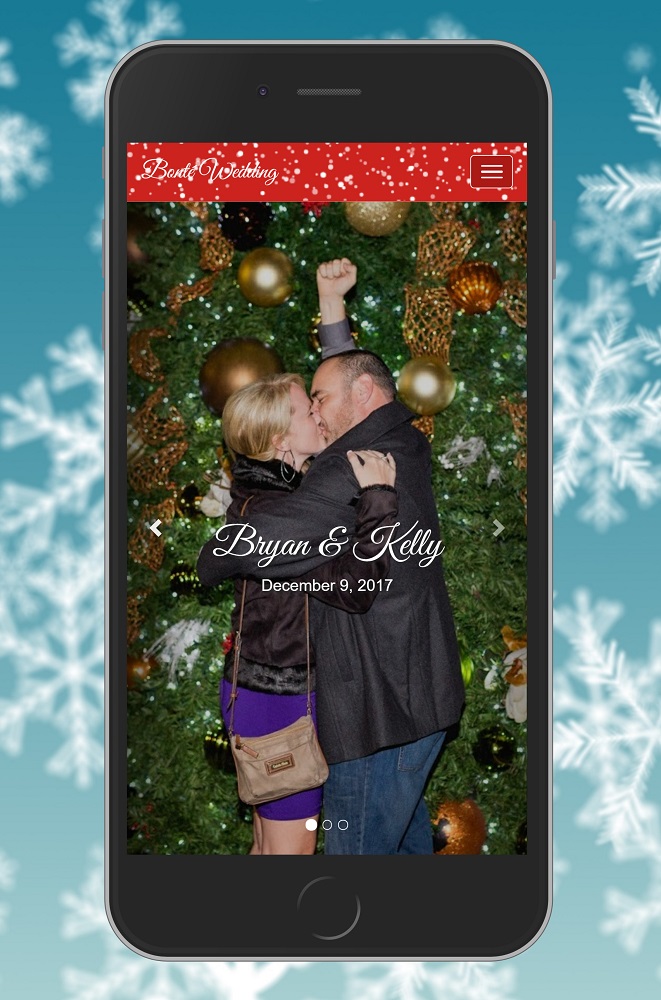
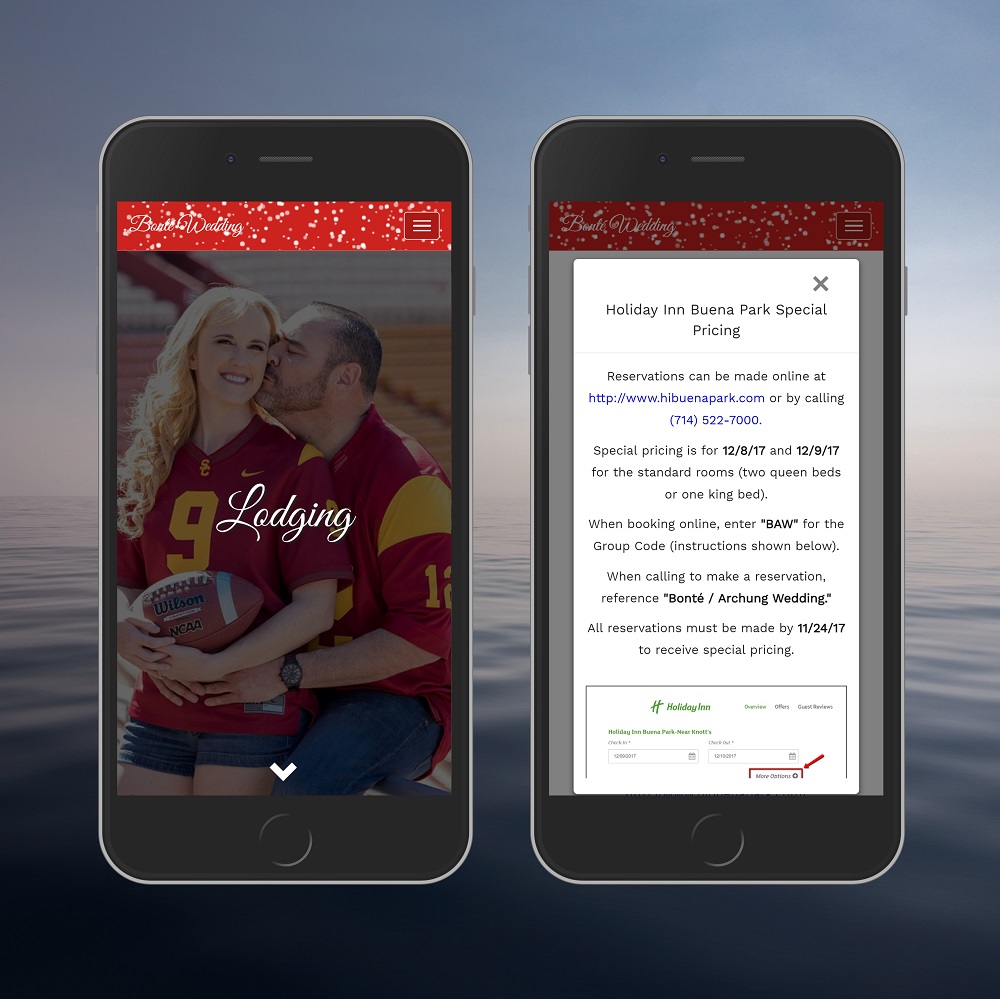
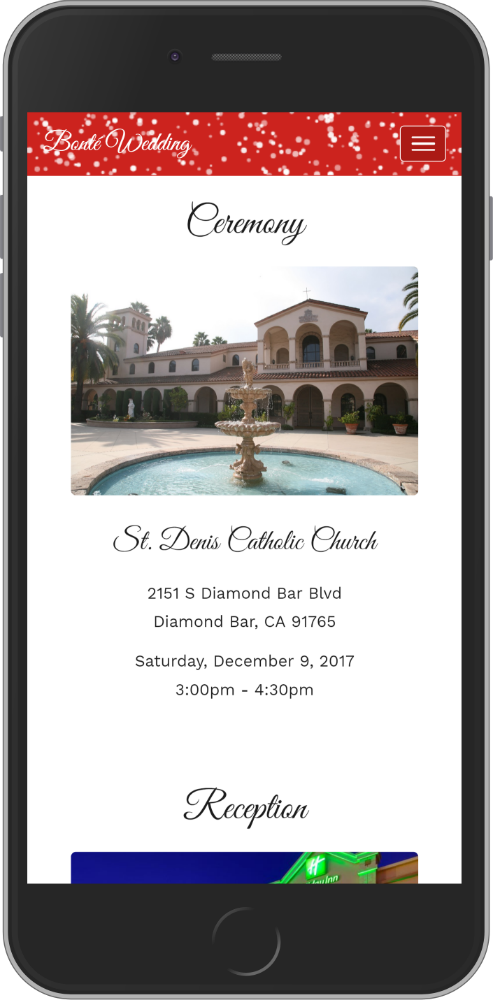
The approach I used for this project was to first use the coding skills I learned through CareerFoundry to create a “skeleton” website. From there, I would fill in each page with pictures and content relevant to our wedding. After the pages were filled, I would then fine tune them to ensure they were all mobile-friendly and cross-browser compatible. I would also then add special graphics and interactions such as snow falling in the menu and a modal in the Lodging page to let our guests know about special pricing. This helped give them the information they needed without making the page very long and overwhelming them with information. I also embedded an RSVP page into the website. As I was unfamiliar with how to create this page myself and did not think I would have enough time before the wedding to learn, I went through a company called RSVPify and they allowed me to integrate their page into my website, so we could have everything in one place. During the entire process, I used HTML, CSS, Bootstrap, JavaScript, and jQuery.
Challenges
I came across many challenges working on this as I had never created a website entirely from scratch before and had also never worked with Bootstrap, JavaScript, or jQuery before. Most of the challenges I faced involved styling and one interactive feature (i.e. parallax height, menu wrapping, scrolling on the modal, etc.) and if I was not able to figure it out on my own, I would reach out to fellow developers for assistance in order to complete the task.
A couple areas I was able to address myself were the snowflake graphics in the menu and our RSVP page. I had never incorporated graphics before and so adding the snow falling effect was both challenging as well as fun. After about an hour of researching it, I was able to add this effect using JavaScript and CSS. Another challenge was our RSVP page. Since this page was embedded, I was limited to what I could fix and a lot of our guests were having trouble viewing the page, which I found out was a result of a security setting on their computer. I did not want to have to explain this to everyone, so instead, I added a link at the top of the page to redirect our guests to our external RSVP page and they were able to access that without any problems.
Final Showcase
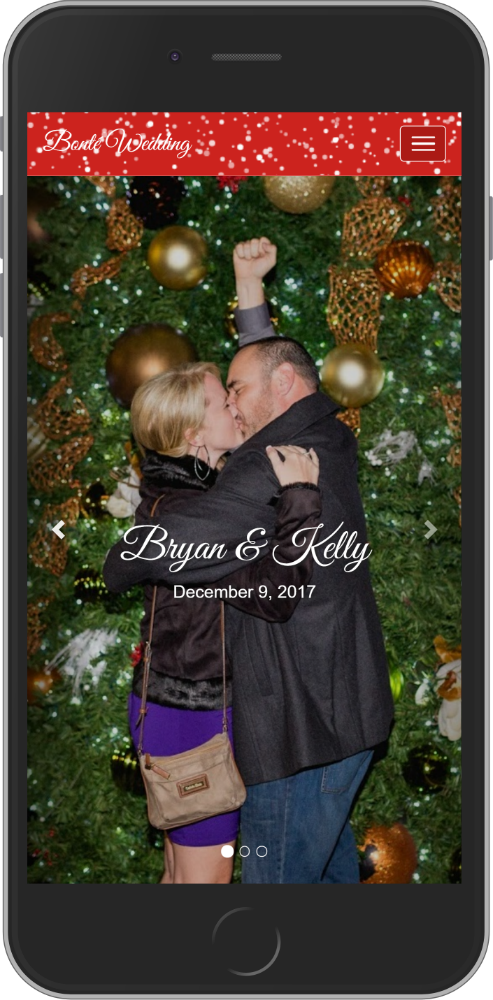
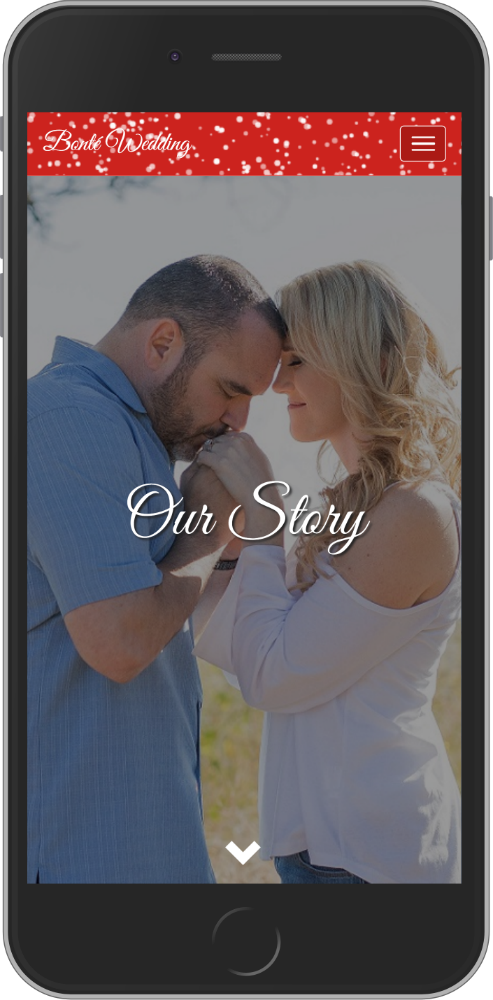
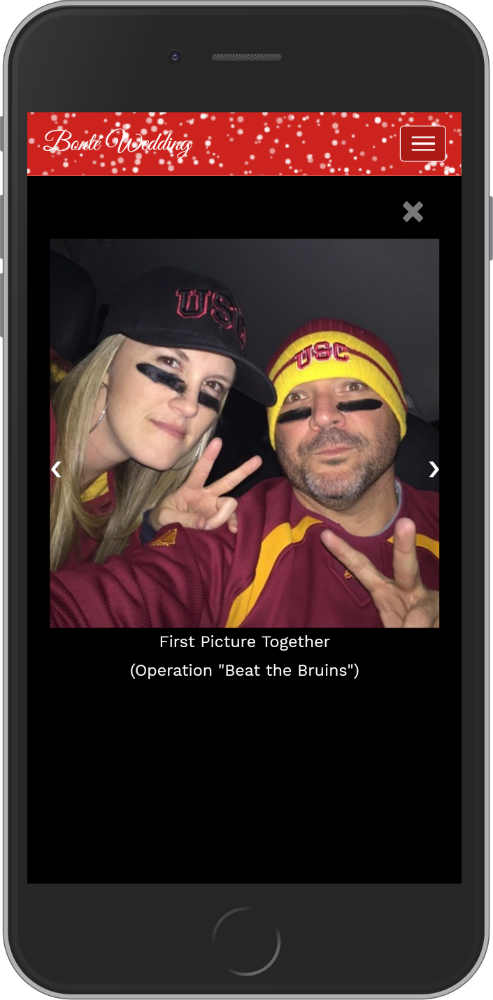
The finished product far exceeded the original objective. When first starting out, there was no theme in mind and no graphics considered. However, creating a Christmas theme as the landing page and adding the graphics to the menu made a huge difference and made it feel like the site came to life. Every page along the way felt even better, too. What I would like to improve on is the style of the slideshow pictures on the Our Story page when scrolling through them and also having all the pictures load faster.
Credits
I was the main developer on this project, but I did have the help from a previous co-worker, Ian Chan, who assisted with some final touches. The link to his LinkedIn profile is: https://www.linkedin.com/in/ian-chan-9b48461/
Links
Here is the link to the final site: http://www.bryanandkellybonte.com/